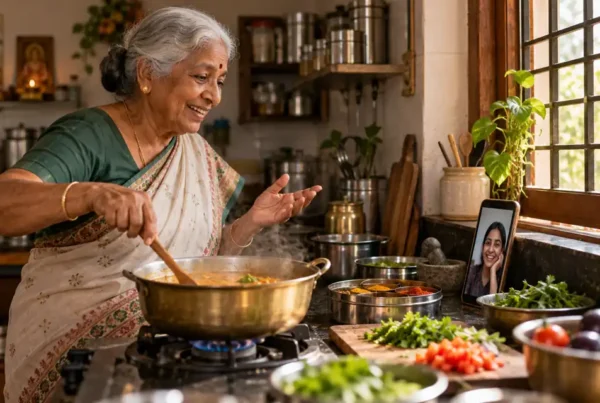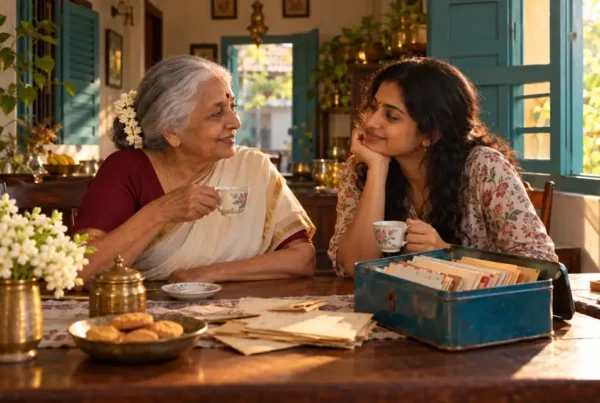


One old photograph can bring back more than a date. It may return the colour of a kitchen, a familiar voice, or the feeling of waiting for someone to come home. But a box of photographs is not yet a life story. To make a digital autobiography meaningful, connect each image to the people, choices, and memories around it.
You do not need every photograph or a perfect timeline. A small, well-described collection can become the beginning of an online autobiography, a digital memoir, or a family history book that relatives can understand and add to. These steps help you organize images without turning the work into an exhausting archive project.
Why photographs help you remember
Images are useful prompts, not proof of everything that happened. A picture may show who stood together, but not what was said before the shutter clicked. It may reveal a childhood home, a first job, a celebration, or an ordinary afternoon that later became important. The story comes from your memory and the context you add.
That is why autobiography writing works best when you look beyond captions such as “summer 1982” or “family holiday.” Ask what was changing in your life then. Who made the day possible? What did you hope for? What would a younger version of you have noticed? A photo can open a door; your reflection tells readers where it leads.
1. Gather photographs without sorting too soon
Start with one manageable source: a phone folder, an album, or a small box. Later, you can add scans, prints, letters, certificates, and pictures shared by relatives. Make a simple inventory of what you have and where it came from. Avoid moving or renaming original files until you have a separate working copy.
If relatives contribute images, note the contributor and any details they remember. This first pass is only about bringing material together. You can decide what belongs in the story after you see the range of moments available.
2. Protect the originals and make working copies
Keep original prints in a safe, dry place and avoid writing on the back of a fragile photograph. For digital files, keep the untouched original and make a second copy for editing, cropping, or adding notes. Use clear filenames for the copies, such as “school-concert-approx-1975,” rather than a guess presented as certain fact.
Back up important files in more than one place, and check occasionally that they still open. A digital autobiography should be easier to preserve than a single device or account. Keep a separate note describing the folders and your naming approach so that another family member can understand them later.
3. Sort by chapters of life, not by perfect dates
Make broad folders or headings such as childhood, leaving home, work, relationships, parenthood, migration, community, and later life. These are starting points, not required autobiography chapters. If you do not know an exact year, use an approximate period: “early school years” or “before we moved.” An honest uncertainty is more helpful than a false precision.
A family tree can help you identify relationships, but it does not have to dictate the structure. A life story moves through experience, not only through generations. You might organize one section around a home, a craft, a difficult decision, or a tradition that connected people across many years.
4. Choose anchor photographs
From each folder, select a few images that lead to a memory you can explain. These anchor photographs might mark a turning point, a person who influenced you, or a routine that captures what daily life felt like. Keep other pictures as supporting material. You are building a readable story, not trying to publish every image you own.
Ask of each candidate: “Can I tell something specific that a reader could not learn from looking at the image alone?” If the answer is yes, write a note. If you have only a date and no remembered context, save the photo for later rather than forcing a paragraph around it.
5. Add captions that carry memory
For each selected photo, write down five things: who is pictured, where it was taken, the approximate date, what was happening, and why you remember it. Then add one sensory or emotional detail. What could you hear? What were you worried about? What did the room smell like? Which small object in the frame takes you back?
Separate what you know from what you infer. You might write, “I think this was the winter before we moved,” rather than stating it as a fact. If two relatives remember an event differently, record both accounts with care. A caption can preserve that difference instead of choosing a version that erases someone’s memory.
6. Ask family members for missing context
Show a photograph to a relative and invite a conversation rather than testing their memory. Try open questions: “What do you remember about this place?” or “What happened after this was taken?” Listen for details about work, food, language, neighbourhoods, and relationships. With permission, record the conversation or write notes soon afterward.
This is a practical way to record family stories and preserve family memories that might otherwise stay attached to one person’s recollection. Add the speaker’s name and the date of the conversation to your notes, but do not assume every person wants a private memory published. Ask before sharing sensitive stories or identifiable images.
7. Build a sequence with a human thread
Put your anchor photographs in an order that helps a reader follow change. A simple sequence might begin with a place or value that shaped you, move through a challenge or choice, and end with what you understand now. You do not need a dramatic event in every section. Ordinary routines can show how a family earned a living, cared for one another, or adapted to change.
Use short transitions to explain why the next photograph matters. For example, a picture of a first apartment can lead into what independence meant, what was hard about it, and who helped. The images then support the personal history rather than interrupting it.
8. Pick a digital format that you can maintain
A folder with a document, a printed album, or an autobiography app can all be useful. A memoir app or life story app may make it easier to collect notes and photographs in one place, while a family history app may focus more on relatives and relationships. Before you choose a tool, consider whether you can export your writing and images, control who sees them, and make a backup.
If you want to create autobiography online, begin with a small test chapter and a few images. Check how the result looks on a phone and on a larger screen. A finished life story book does not need elaborate design; it needs legible text, clear image captions, and a structure that family members can follow.
9. Review privacy, permissions, and preservation
Not every image belongs in a public or shared version. Ask before including photographs of living relatives, especially children, and be thoughtful with family conflict, health, or other sensitive history. Keep a private working archive separate from the version you intend to share. Label permissions and avoid adding personal details that are not needed to understand the story.
Set a reminder to review backups and access every year or two. If you use a service, understand how to download your files and what happens if you stop using it. The aim is to preserve your digital memoir in a form that remains readable and under your control.
A 20-minute exercise to begin
Choose three photographs from different periods. For each one, write a two-sentence description: first, what a viewer can see; second, what the picture brings back for you. Add one question you would ask someone else who was there. You now have a small set of prompts for autobiography writing, a conversation, or a future chapter.
When the notes are ready, look for a connection between the three moments. It may be a repeated place, a promise you kept, a lesson you learned slowly, or a person who made you feel safe. That thread can guide the next page without requiring you to map your whole life in advance.
When you want help shaping the story
Some people enjoy sorting their own archive; others prefer a writing partner to help turn scattered notes into clear scenes. Either way, start with what you want readers to understand, not with a demand to include everything. A thoughtful structure can keep the photographs, voices, and reflections working together.
If you are beginning memoir writing, you may also find our guide to choosing a memoir theme helpful. For more ideas on memoir, autobiography, family history, and legacy, browse the Life Story, Memoir & Legacy collection.
Your photographs do not need to tell the whole story by themselves. With a few honest captions, remembered voices, and a clear sequence, they can help you create an online autobiography that feels personal, grounded, and worth passing on.